
Creating The Apple Mac "Finder" Window Effect In CSS
Hey
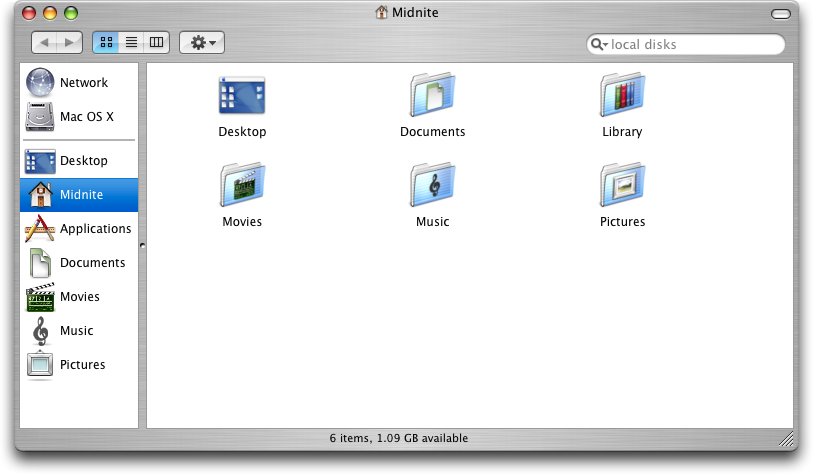
This is a pretty simple tutorial that will enable you to create a web page that mimics the look of a Finder window within an Apple Macintosh system. It really doesn't take a lot of doing but is very useful for beginners. The ideas behind this tutorial is to create a couple of divs and set the background images to correctly render the desired images. The final images can be changed later to suit any page you want but the principle effect stays the same. As a final touch there will be some font and text styling to match the windows. At the end if you want to test it out you can download the source pack. I have also added all of the sources images that I used.
Step 1) The first step is to find and download a basic Mac window. The one I have used is from the previous version "Panther". The new "Leopard" version has change the window about so I can't use it. Anyway, the one I have found was from here. A blanked out version is shown below. I have also removed the small buttons that are present on the window.![]()
Step 2) The next step is to slice up the image into 3 sections. The header, body and footer. I've done this in Photoshop, but nearly any software can do the tick. Cut the image as shown in the image below. If you want to be extra cool (and create a better page) reduce the vertical height of the middle image, this can be done by squashing the image or cropping most of the image out.
At this point on there wont be to many images, just text, so if you get a bit confused because I haven't explained my self clearly enough please leave a comment and I will try and help you out.
Step 3) At this point you should have your three images, it is now time to turn them into a HTML page. The idea behind this is that the centre part of the page is allowed to stretch and then the bottom and top images added (purple). Small divs will be inserted inside for the text (green), as shown in the image below.
There for the first step is to create the blank html page. Add in a head, style and body tags and properly close them. I would show you here but blogger makes it difficult to add such html (even as a quote) it screws it up. Showing an image is just annoying.
Step 4) The next step is to define the main divs. Open a new text file and save the document as .html. As a practice I use is to create the shell, make sure that it works and then add in all of the detail last. Create 4 style elements within the style tags. Add the following text:
body {
font-family:"Lucida Grande",Geneva,Arial,Verdana,sans-serif;
font-size:12px;
font-size-adjust:none;
font-style:normal;
font-variant:normal;
font-weight:normal;
line-height:18px; }
#outerwrapper {
display:block;
width:813px;
margin:auto; }
#header {
display:block;
background:url(http://i5.tinypic.com/8gdsu4l.jpg) no-repeat;
height:38px; }
#mainbody {
display:block;
background:url(http://i15.tinypic.com/81068gl.jpg) repeat-y;
}
#footer {
height:57px;
display:block;
background:url(http://i14.tinypic.com/8e0ujyw.jpg) no-repeat;
}
The body style will apply to the whole page, this is the font styling this isn't need right at this minute. The outer wrapper style is used to house all the remaining elements, this also enables the whole thing to be centered. The header, main body and footer are all styles with background images. The background images are hosted on tinypic for ease of use. They all have different sizes and different repeats to enable this effect to happen. If you want to find out more go visit the w3schools webpage for more information.
Step 5) We have our styles we now need to add them to the page. If step might be a bit difficult to explain due to the blogger restraints. I will try my best. The first div to add in the body of your text is the outer wrapper, add div id="outerwrapper', makes sure you close the tags with the appropriate tags (<>) and the trailing end div tag (/div).
Within this div add the header, main body and footer div's in the same manner. If you view the page in any browser you should end up with something that looks like this.
The middle part doesn't appear since there is no information inside the div, as a result it doesn't appear. The top and bottom images appear due to the size constraint set.
Step 6) The next step is to add a main piece of text. This will be done inside a div so the dimensions and placements can be sorted. Within the style sheet add a new style using the text below.
#text {
display:block;
padding: 0 25px 0 25px;
}
Step 7) The reason the padding is added will be come apparent in a second, is it used so the boarder of the image doesn't have text on top of it. To add in the text div place it in between the mainbody div and its end tag, use the same formatting. To test the div out head over to the lorem ipsum generator and copy and paste some text in the text div. If you have added in the divs correctly you should have something that looks like this.
Step 8) The last steps are to add in two divs for the title and the footer for dates or something similar. To do this add in the following styles. These are for the divs. The styling is added so the elements appear in the right place.
#title {
margin:auto;
width:500px;
padding:5px 0 0 0;
text-align:center;}
#bottom {
margin:auto;
width: 500px;
padding: 12 0 0px 0;
text-align:center;
font-size:10px;}
Step 9) The final step is to add in the required divs. Place the title div inside the header div and the bottom div inside the footer div. Add some text to test if it works. If all is correct it should look something like this.
If it doesn't look like that try downloading the source pack and looking at the html file. Alternatively you could download Firefox, as this will render the CSS correctly, Internet Explorer doesn't do CSS well.


1 comments:
Very nicely done, and in a different way than I would have done it.
I would have used tables, but this way is much quicker, easier and neater.
Thanks and keep up the good work!
Post a Comment