
Cropping Artwork in Illustrator
Hey
There comes a point when you are working in illustrator to crop your work. In photoshop for example you can select the crop tool draw a box and press ok. There isn't such an option in Illustrator (i.e a specific tool), put there is a very simple method to achieve the same effect. This mini tutorial will show you how to crop art work in Illustrator.
Step 1) Pretty obvious this step, have some artwork. The image below is made up from Go Media vectors. I've used the freebies to make this piece. Step 2) The next choice to to select the rectangle tool. If you want to use another shape you can. I'm cropping my piece of work to the size of the art board. To select a size of a shape in Illustrator select the tool and click on the art board, you will be given the following option to change the size (this can be used for nearly any other shape, line etc)
I've select a thick stroke for the purpose of this tutorial, although it can be any colour thickness you want. Step 3) To successfully align the new shape select the Selection Tool (V) at the top on the tool bar select the Align to Art board Button (the symbol on the left) this will bring up a couple of options. Select both of the middle buttons to align the rectangle in the centre of the art board.
 Step 4) Open up the pathfinder palette (Window > Pathfinder). One very important tip to note is that strokes cannot be cropped. To make every thing into a shaped path, press Cmd/Ctrl + A and then select Object > Path > Outline Stroke. This will make everything into a shape.
 Step 5) Press Cmd/Ctrl + A to select everything and press the crop button in the pathfinder (3rd from right). This will crop the work to the box.
Notice how it lines everything up perfectly. Perfect. Illustrator will have made everything into seperate shapes and mix things up so you wont be able to edit the objects like before. So it is a final step before you publish your work.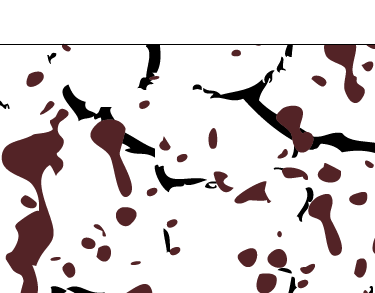
If you want the final image that I knocked up you go click the image below for the full version. If you have any comments or questions, please leave a comment.


4 comments:
oh this works. wouldnt use it so often but nice to know :)
It is a useful little tip to no.
i tried this it doesnt work either way all you have to do is create the rectangle selct all and create clipping mask......mayeb you have an older version
It doesn't work 100% of the time, but it does work on some pieces.
Post a Comment