Creating A Web 2.0 Flag Icon
Web 2.0 Icons are every where. On websites coming into programs. This icons are graphics that have reflective shadows and look really cool. But how do you do them for country Icons. Heres how. Click any of the image to enlarge them.
You will need:
Photoshop or Similar
A Flag photo
Time
1) The first step is to set up your canvas, I chose a nice large size of 500 x 500 to get the best effect . The bigger the better because more detail can be added to the image. 2)
2)
The next step is to find a picture of a flag on the internet. I chose, the Union Jack. Paste this into Photoshop.
3)
Centre your flag as necessary. You are trying to capture the centre part of the flag.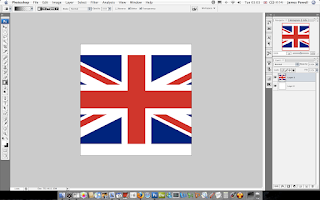
4)
Using the centre marquee tool draw a circle around the centre of the flag. Using the shift key to keep the aspect ratio correct. In Photoshop use space to arrange the circle as necessary.
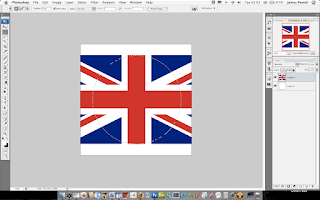
5)
Copy and paste the centre circle onto a new layer. You can get rid of the original flag layer.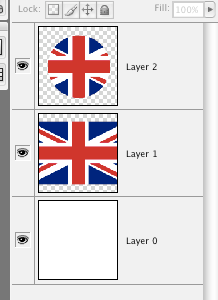
6)
The next step is to add the layer effects to the circle layer. This is done in 3 parts. Inner glow, Bevel and Emboss, and finally a Stoke.
Use the inner glow, set the colour to white and size to 20.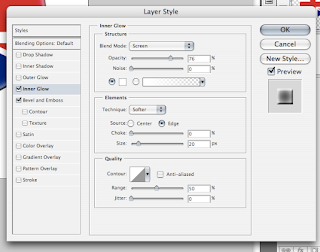
7)
With the Bevel, set the size to 200 and if necessary reduce the opacity of the black. You don't want the shadow to be too dark.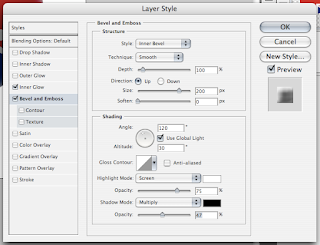
8)
This is usually an optional extra but looks good if you do it. Add a stoke to the layer. The main colour of the flag is used. 9)
9)
Once this is done, you have to add the main highlights that give the best effect. To do this create two new layers and turn them into a clipping mask. Two layers are used so you can adjust the opacity as needed.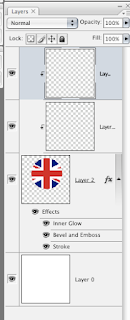
10)
Using the marquee tool again, draw and ellipse at the top of the image. Add a white to invisible layer on to this clipping mask. Adjust the opacity as necessary.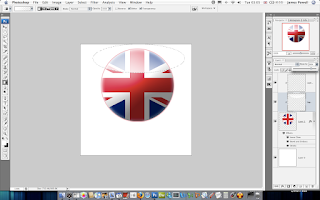
11)
Do the same with the shadow layer. The opacity of this layer usually needs to be vastly reduced to get a good effect.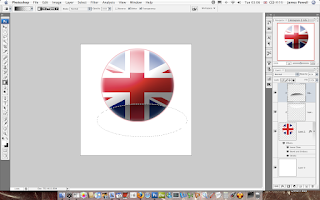
12)
Grab both layers and rotate them slightly to the left.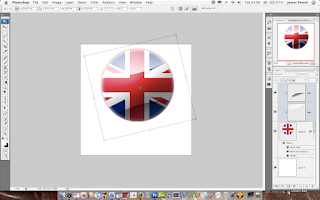
13)
This part is used to create the reflective shadow.
Merge all of the current layers and copy it. You should have two layers. If needed remove the white background.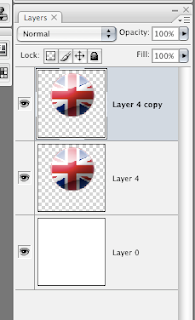
14)
Flip the layer vertically and position underneath.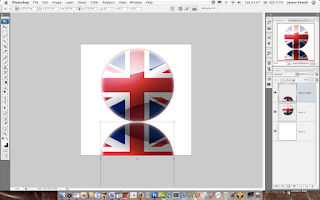
15)
Create a layer mask, to reveal all. Then add a gradient fill to gently remove the opactiy as shown. This may take a couple of goes to get right.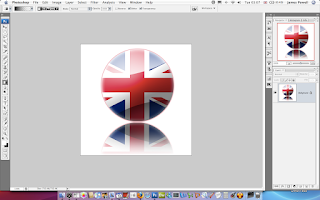
There you go an Uber looking web 2.0 flag icon.
You can of course do this with other flags. And the effects are really cool. Shown below from left to right are: United Kindom, United States of America, South Korea, Earthican flag (Futurama).


8 comments:
Can i get the PSD for thsi?
Dam
I'm so sorry mate I can't find it, I only have the final jpg which is at the bottom of the page.
Personally, I think there's too much reflection - reflection is a key part of these icons and it can make or break an icon.
Great tut!
What version of photoshop are you using? I'm using 5.5 and think its outdated now.
говно (russian)
I think that it is a good way to get the effect but because of the sharpness of the highlight and the shadow it can only work for small icons.
Yeah there are always pros and cons, thanks for commenting.
Hey, great website design, dude!
Cheers..
Post a Comment