Creating A Funky Text Background
 Hey
Hey
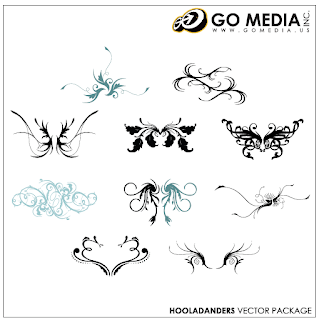
I was messing around in Photoshop again and I came up with a rather cool background for some text. So i've turned it into a cool little tutorial for you to follow. It is basically a small stylized background for some text. The results are really cool. This tutorial does need a piece of paid artwork. I've used the Hoolanders set from Go Media Pack 2. If you scroll down you should be able to find it. It only costs $15 and is a great bargin since the vectors you get are really good quality. You can use any of the hoolanders sets, the newer set 9 looks really cool. If you are cheap you could always try the free pack. That includes a couple of hoolanders for use for free.
Step 1) As always with my tutorial the first step is to create your canvas. For this tutorial pick a rectangular size. I have chosen 1440px x 900px to match my screen resolution. Change the size to suit your needs.
Step 2) Apply a turquoise green background to the background layer as shown in the image below.
Step 3) The next step is to open up you hoolander, this is best done in illustrator, change its colour to a lighter turquoise green.
Step 4) Hide the background layer. Insert the hoolander into Photoshop thru a copy and paste. If you have inserted it from Illustrator the background will all ready have been deleted, otherwise you need to get your eraser tool out and delete the background. Shrink the shape with the transform tool (v).
Step 5) Put a rectangular marquee around the shape, being as tight as possible to the edges.
Step 6) The next step is to turn this into a pattern. The pattern will be used to cover the background. With the shape still selected go to Edit > Define Pattern. Enter a subtable name.
Step 7) Delete the shape layer it is not needed any more.
Step 8) Go to Layer > New Fill Layer > Pattern. Click through the messages and your canvas should now fill with the shape. If you don't like the sizes, go back and redefine the pattern.
Step 9) On a new layer insert a square rounded rectangle with 40px edges. The colour wants to be off white.
Step 10) Select both the new layer and the background layer and press V. In the tool bar at the top select Align Horizontal and Vertical Centers. This will align the shape layer to the center.
Step 11) Add a small drop shape, make the size large and the opacity medium.
Step 12) Going back to the hoolanders in illustrator, select to black vectors and paste them in Photoshop. Select as pixels when prompted. Move and transform them about.
Step 13) Right click on the layers and select clipping mask. Make sure the vectors are about the coloured square. This will cut the edges off as shown below.
Step 14) To finish off a couple of move vectors are going to be added to the background. In Illustrator select a couple of vectors and make them a dark green turquoise. Paste these into Photoshop. I've included an image of the vectors I have used and coloured as reference.
You want the vectors to be partially hidden, just the edges to be shown.
Step 15) The last step is to add some text. I've used Lucida Grande. Add colour and resize text as you would normally.
Looks pretty cool, and could easily be used in a magazine or brochure. If you want more ideas check out this other magazine design I have done.
0 comments:
Post a Comment